

Plugin Alliance Mega Bundle for macOS
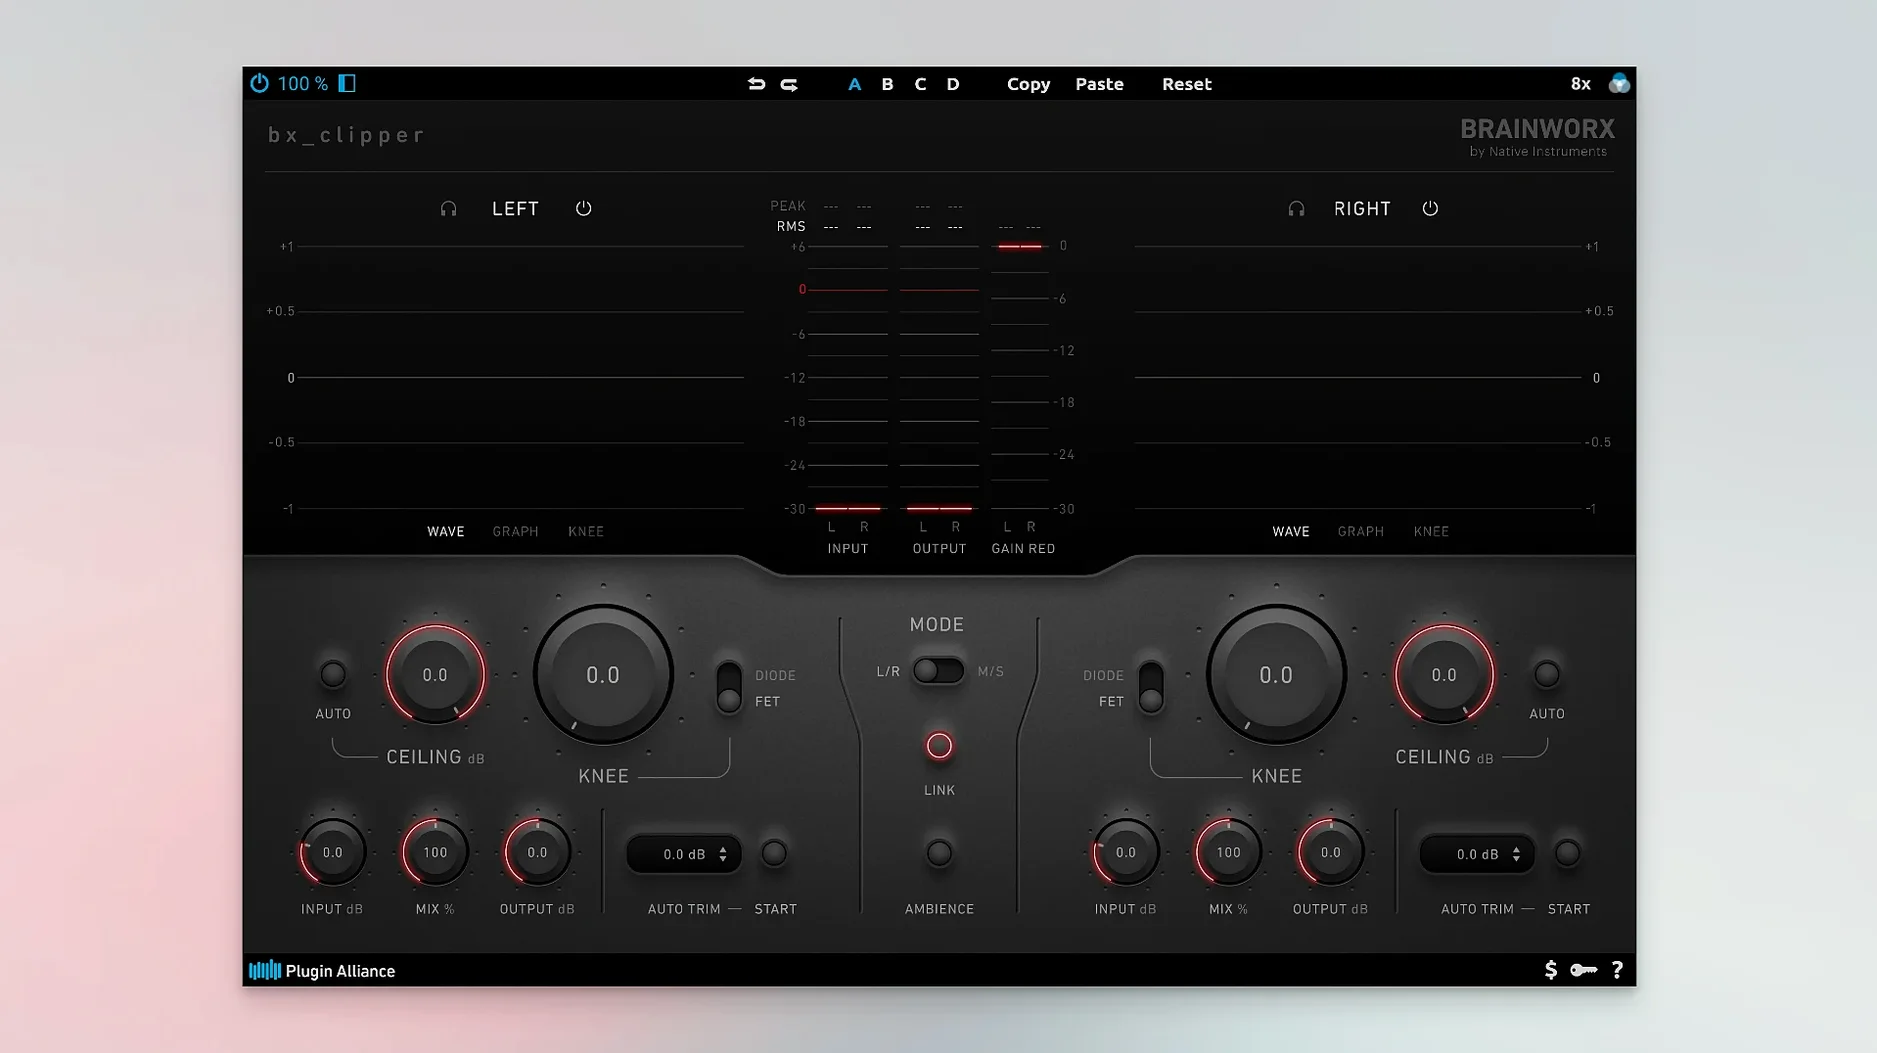
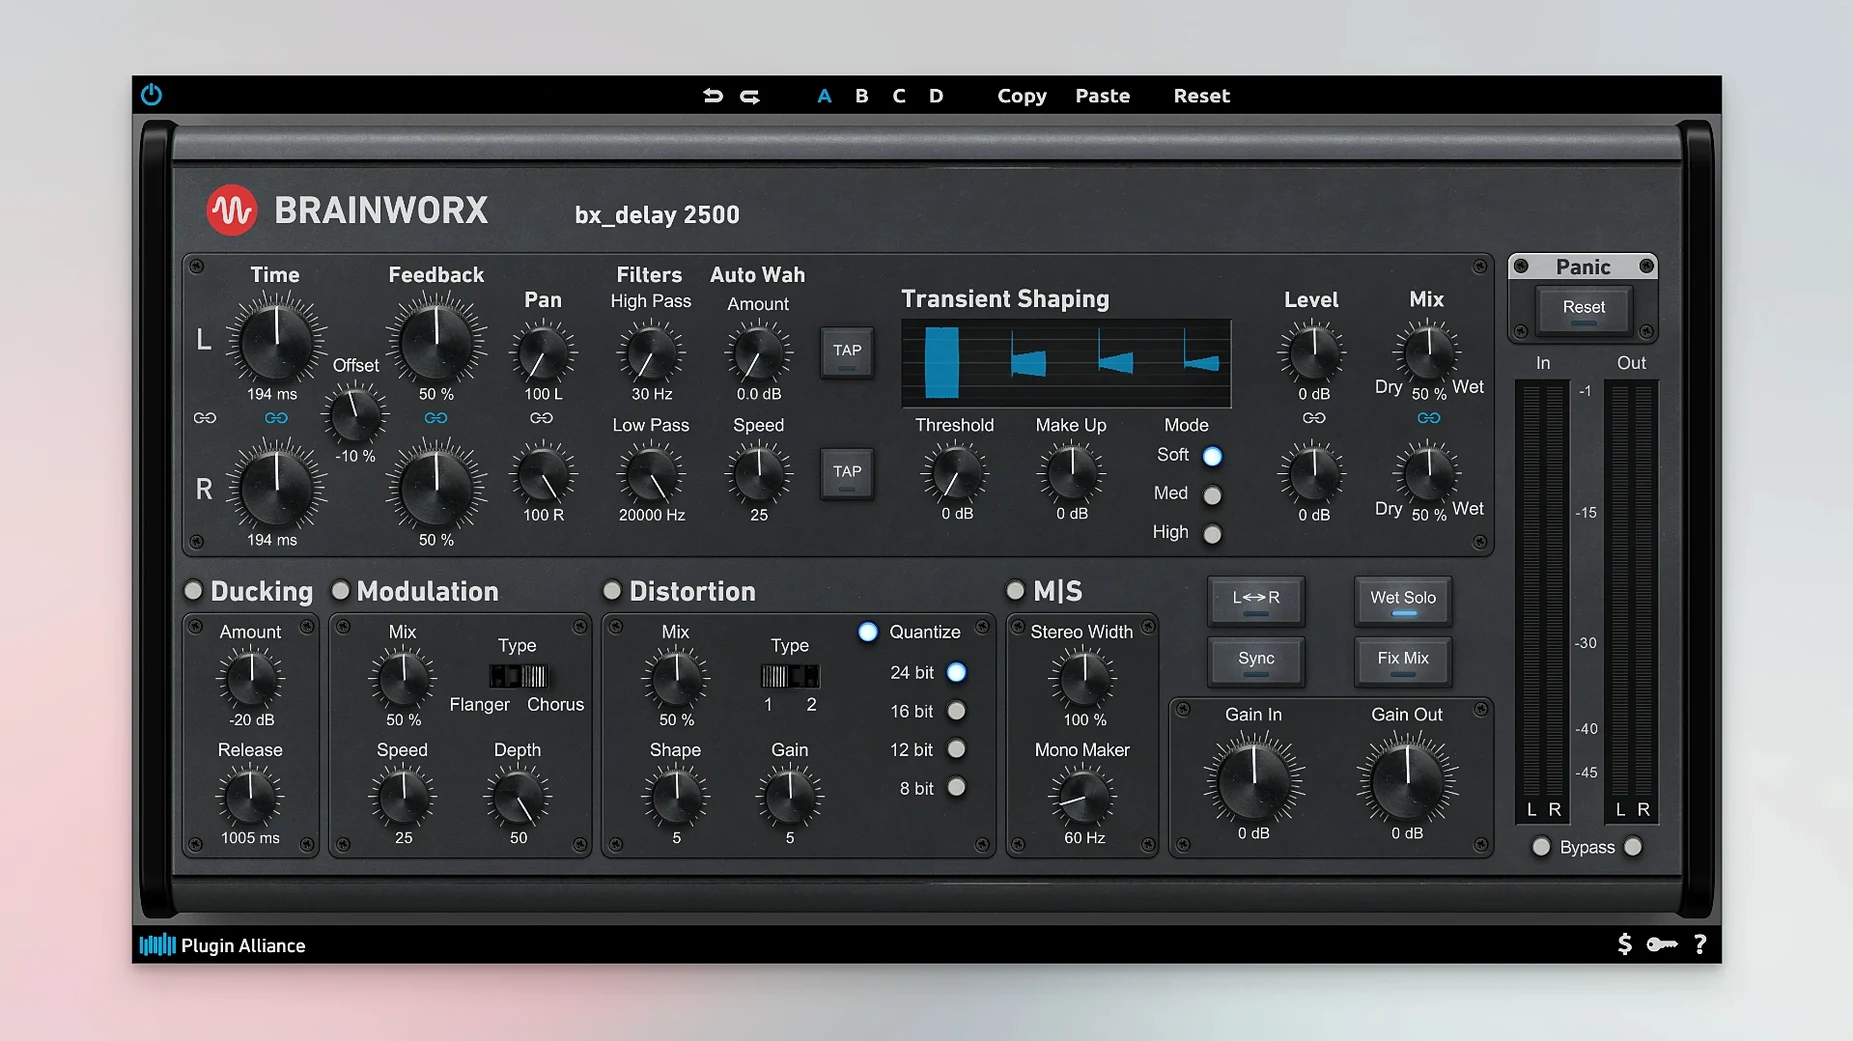
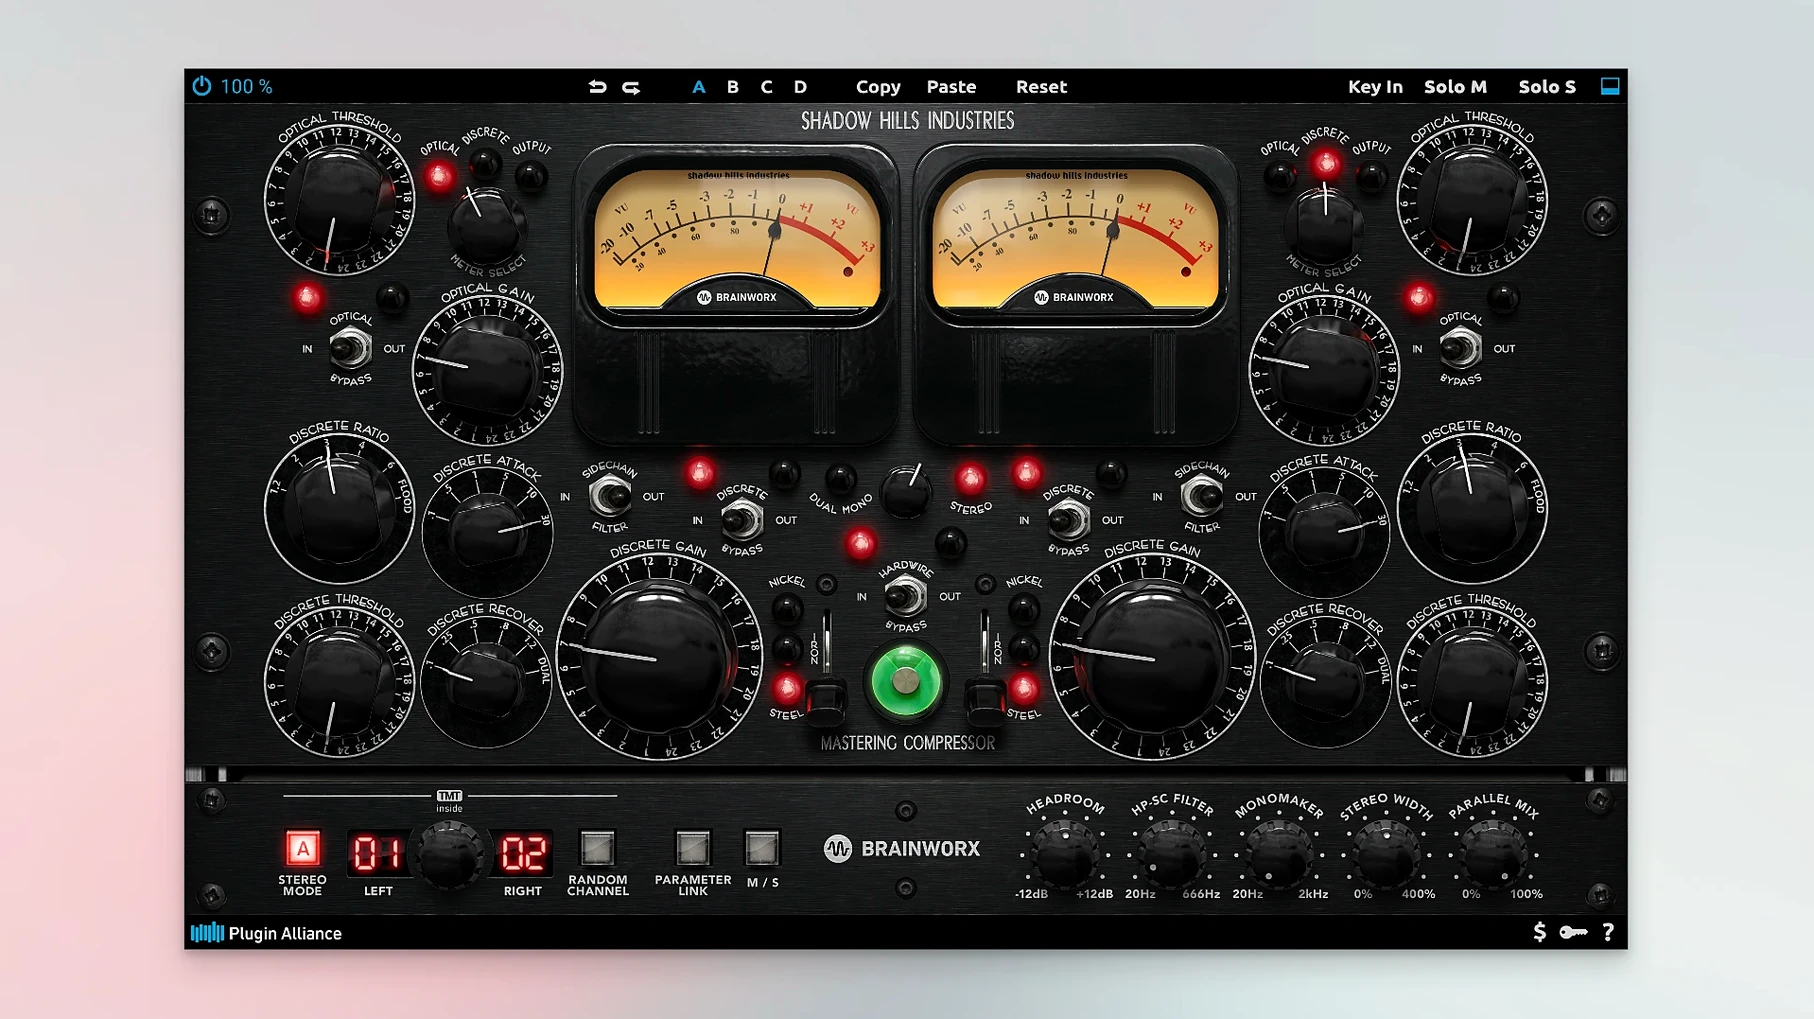
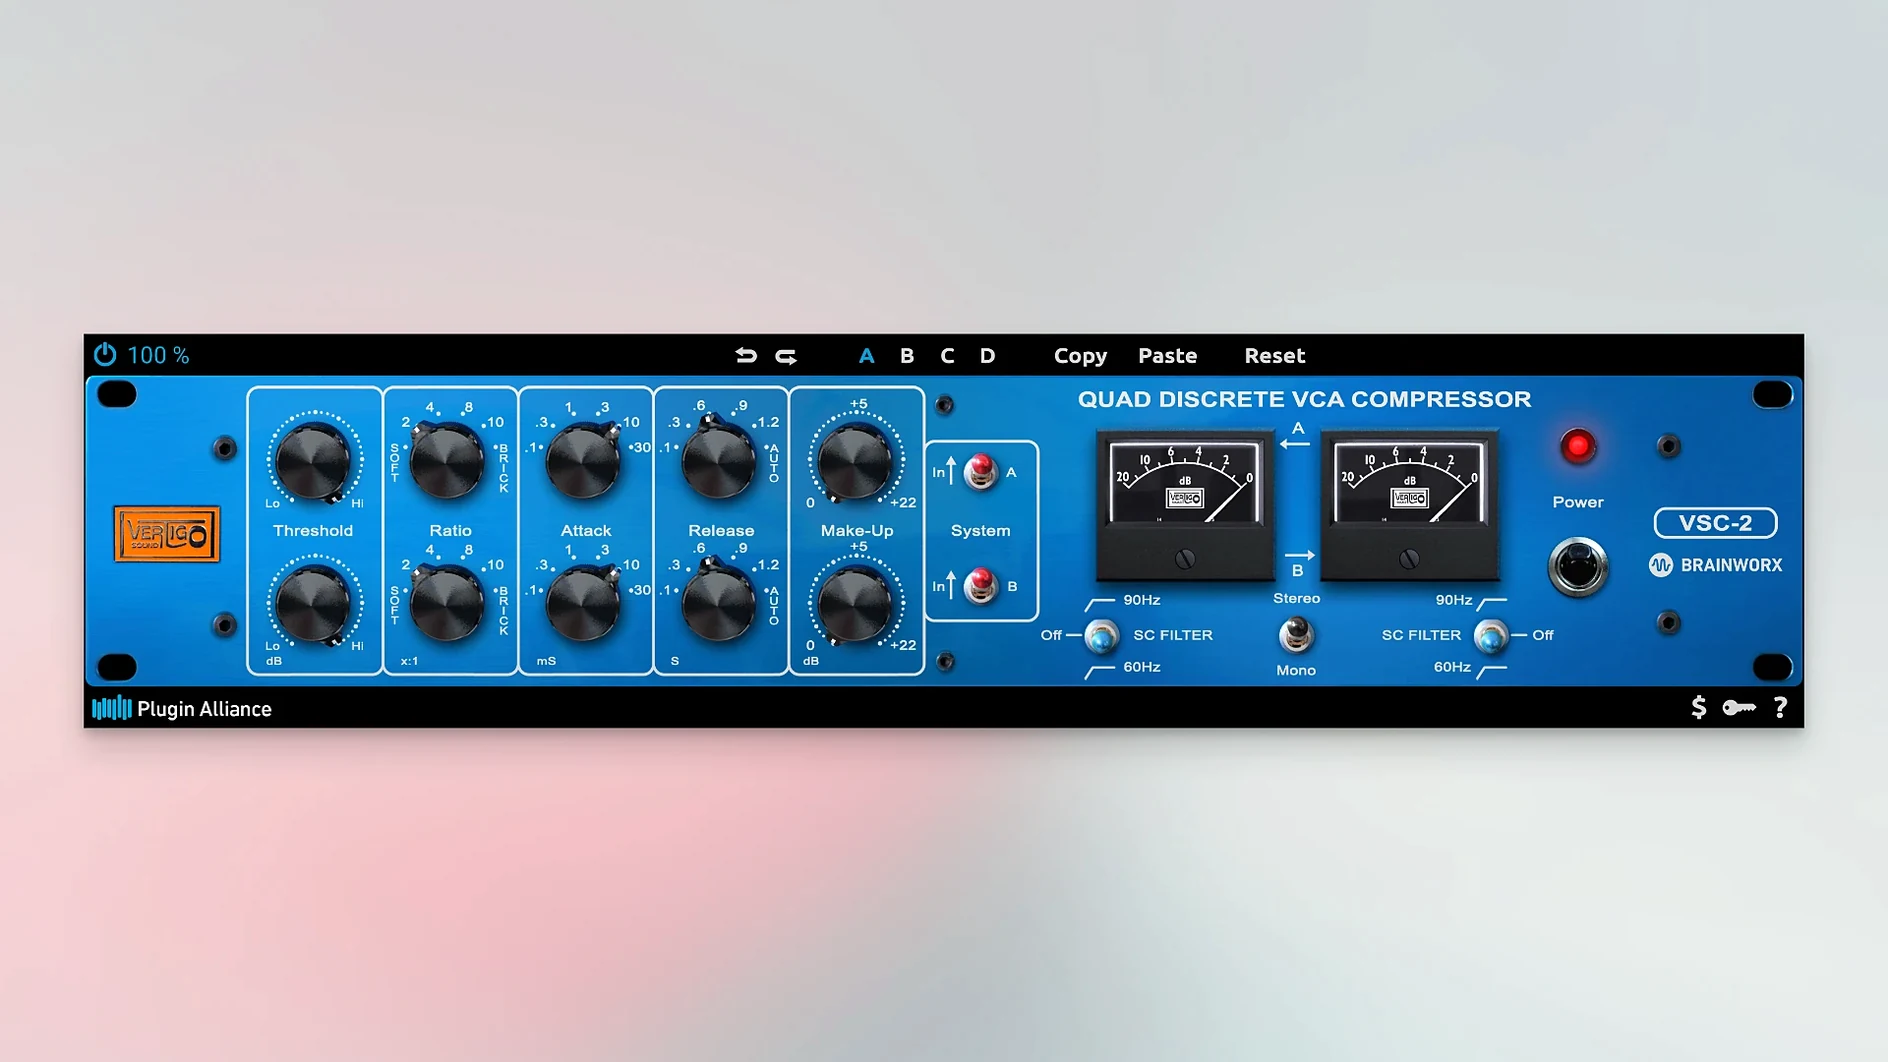
Description
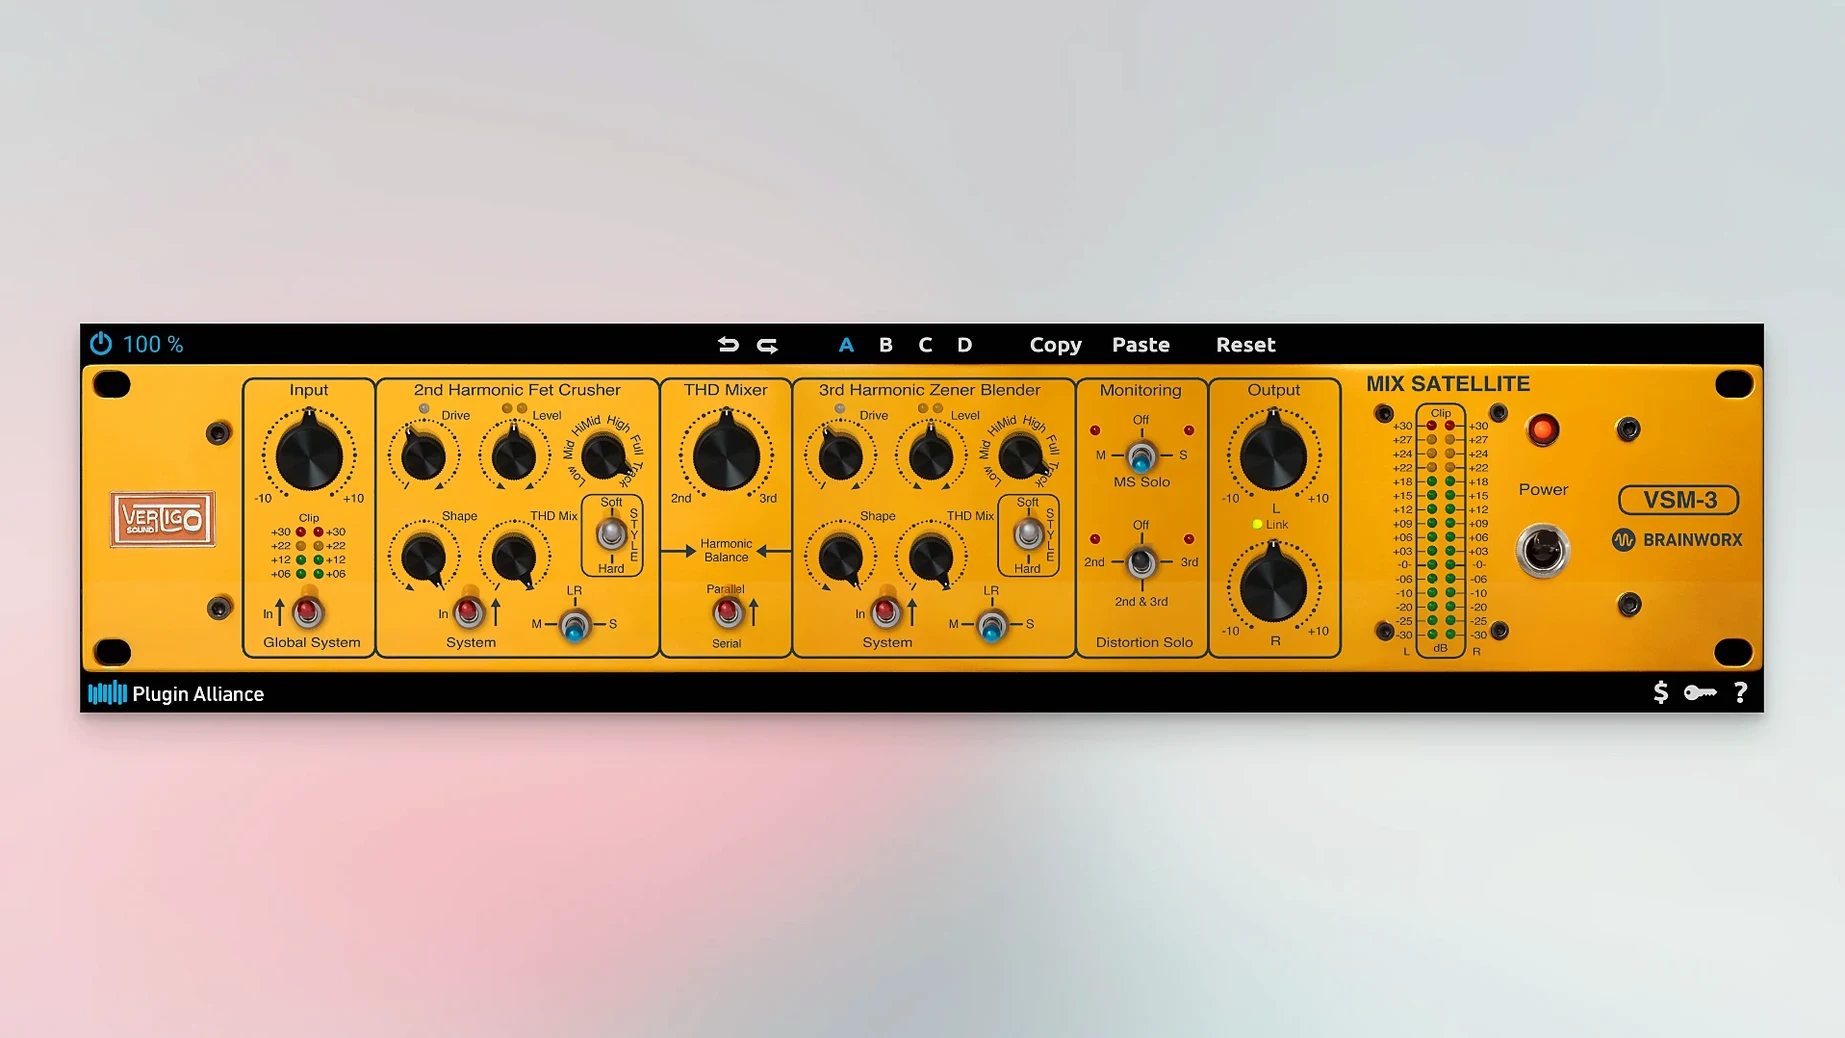
You pull up a snare drum that needs to crack through a dense mix without taking your head off. Instead of reaching for three separate plugins, you open one Brainworx channel strip from the bundle, nudge the high shelf, tighten the gate, and dial in a little VCA-style compression. The drum sits where you want it, and you move on.
Console-grade EQ, saturation and guitar tools in one bundle
- Shaping individual tracks with modelled console EQs and dynamics
- Adding weight and drive with analogue-flavoured saturation
- Building guitar tones from clean amps to high-gain stacks
- Placing sounds in a space with dedicated spatial effects
- Polishing a full mix with bus compressors and mastering-grade tools
VST3 and AU only on macOS Ventura, plus a DMG extraction quirk
- Only VST3 and AU formats work on macOS Ventura
- The bundle runs on ARM and x86 64-bit architectures
- Extracting the archive correctly is essential to get the DMG
Mixing a vocal from scratch with what's in the bundle
Start with a dry lead vocal that needs presence, control, and a sense of space. Insert an SSL-style channel strip first. Roll off everything below 80 Hz with the high-pass filter, then push 8 kHz by about 3 dB on the high shelf. The compressor should catch peaks at a 4:1 ratio with medium attack — just enough to keep the loudest phrases from jumping out.
Next, add a saturation plugin after the channel strip. Dial the drive until the vocal gains a little fur around the edges in the low mids, then back it off slightly. You want weight, not obvious distortion. Follow this with a de-esser set to split-band mode, targeting sibilance around 6–8 kHz. The goal is to tame sharp “s” sounds without dulling the air you added earlier.
For space, set up a send to a plate reverb. Keep the decay under 1.4 seconds and roll off the low end of the return so the reverb doesn't cloud the vocal body. A second send into a stereo delay with a ping-pong quarter-note pattern adds width without clutter — mix the delay return low enough that you feel it more than you hear it.
On the vocal bus, place a bus compressor last in the chain. Use a gentle 2:1 ratio, slow attack, and auto release. Aim for no more than 2 dB of gain reduction on the loudest sections. This glues the vocal layers together and helps the lead sit against the rest of the mix.
Start with just a channel strip, compressor, saturator, reverb and EQ
You have over a hundred plugins in front of you. Resist the urge to audition all of them at once. Pick five that cover essential tasks — a channel strip, a compressor, a saturation tool, a reverb, and an EQ — and treat those as your new default tools for a week. Learning a handful well beats skimming the surface of fifty.
Save a blank DAW template with those five plugins already loaded on empty tracks and aux sends. This skips the setup delay every time you start a new project. If you mix into a bus compressor, place it on the master bus in the template so you mix into the glue from the first fader move.
Check the archive folder after extraction. A short activation document lives inside alongside the DMG. Read it before launching your DAW. Skipping this step is the most common reason people end up with plugins that fail to scan or show as unauthorised.
When you open a plugin for the first time, flick through its presets while playing a loop of the material you are working on. Presets reveal what a plugin does best faster than turning knobs from scratch. Make a mental note of two or three presets per plugin that suit your usual material, then tweak from there instead of starting at zero every time.
Requirements
- macOS 13 Ventura or later
- Apple Silicon (ARM) and Intel (x86 64-bit) Macs
- Host that supports VST3 or AU formats
Comments 0
Sign in or create an account to leave a comment.
No comments yet…
If you’ve installed it, say how it went. Mention your Mac and macOS version — it helps the next person more than you’d think.
More in VST Plugins
All in VST Plugins-
 Plugin Alliance Shadow Hills OptoMax
1.0.0
Apple Silicon
-
 Plugin Alliance Brainworx Bundle
2025.06.16
Apple Silicon
-
 Prototype Audio Eraform Fraction
1.1.2
Apple Silicon
-
 Pulsar Audio IPA
1.0.9
Apple Silicon
-
 RC-20 Retro Color
1.5.1
Apple Silicon
-
 reFX Nexus
5.5.21
Apple Silicon
-
 Revoice Pro
5.1.30
Apple Silicon
-
 Output Portal
1.2.1
Apple Silicon